
FOOD
Power-Packed Protein: 494 Grams of Chicken Breast
Power-Packed Protein chicken breast is often considered the go-to choice for high-protein meals, how to incorporate it into a balanced diet, and the specific nutritional value packed into a 494-gram serving of chicken breast. We will also look at the role of protein in muscle repair, weight management, and overall health.
Nutritional Breakdown: What’s in 494 Grams of Chicken Breast?
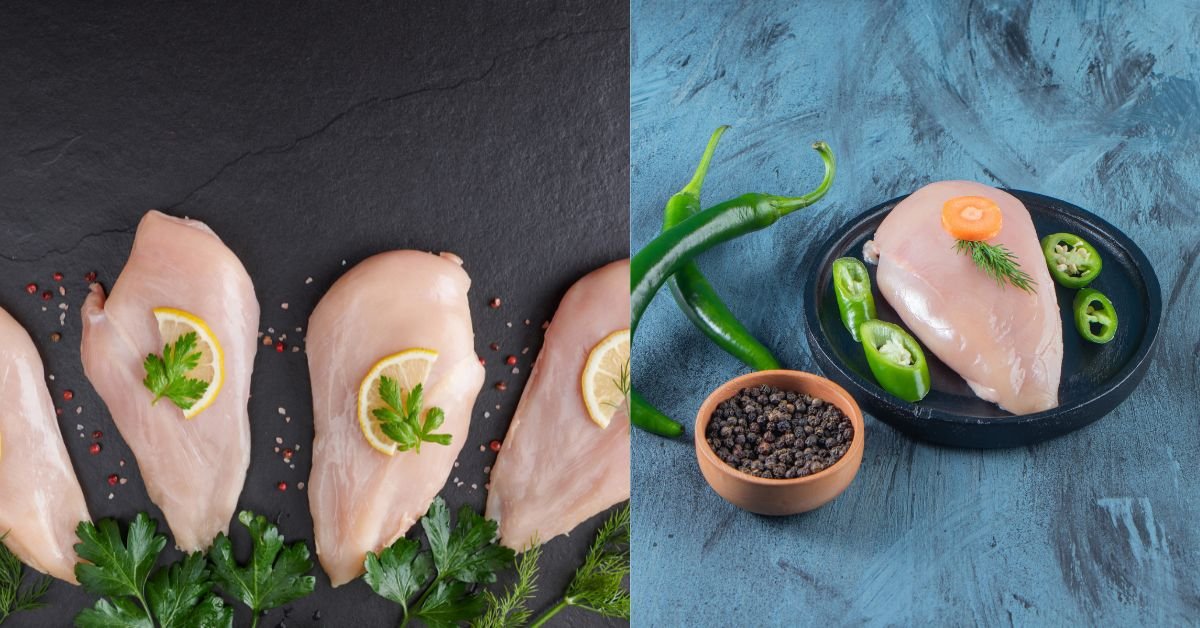
Before diving into the broader health benefits, let’s first break down the nutritional content of 494 grams of chicken breast. A skinless, boneless chicken breast typically weighs around 165 grams. So, 494 grams would be roughly three chicken breasts, depending on their size.

Calories and Macronutrients
A 494-gram portion of chicken breast provides around 825 calories (if cooked) and approximately:
- Protein: 108 grams
- Fat: 9 grams
- Carbohydrates: 0 grams
Chicken breast is known for being low in fat and high in protein, which is why it’s often favored by those looking to increase muscle mass or maintain a lean physique. With 108 grams of protein, 494 grams of chicken breast provides an ample amount of the nutrient that plays a critical role in muscle synthesis and repair.
Micronutrients
In addition to being an excellent source of protein, chicken breast also contains various vitamins and minerals, including:
- Vitamin B6: Important for brain health and metabolism.
- Niacin (Vitamin B3): Helps with energy production and promotes healthy skin.
- Phosphorus: Supports bone health and energy production.
- Selenium: An antioxidant that helps reduce inflammation.
These micronutrients make chicken breast not just a source of macronutrients but a nutritious option for overall well-being.
The Role of Protein in Muscle Repair and Growth
Protein is a macronutrient that plays an integral role in nearly every cellular function in the body. For those focused on muscle building or recovery, 108 grams of protein from chicken breast can significantly aid in muscle repair and growth.
When you engage in intense physical activity, your muscle fibers undergo small tears. The body repairs these fibers by synthesizing new proteins, a process known as muscle protein synthesis. The amino acids derived from protein-rich foods like chicken breast are the building blocks required for this process.
Studies suggest that consuming an adequate amount of protein, particularly post-workout, helps reduce muscle breakdown, accelerates recovery, and promotes lean muscle growth. If you’re trying to bulk up or even maintain your muscle mass, eating a sufficient amount of chicken breast can go a long way.
Chicken Breast and Weight Management
If you’re looking to lose or maintain weight, 494 grams of chicken breast can be an excellent food choice. The high protein content helps with satiety, meaning you’re likely to feel fuller for longer. This can help prevent overeating or unnecessary snacking, making it easier to manage your calorie intake throughout the day.
Additionally, protein plays a significant role in thermogenesis, which is the process by which your body burns calories to digest food. A higher protein intake can boost your metabolism, leading to more calories burned throughout the day, even when you’re not physically active.
Given that chicken breast is low in fat and carbohydrates, it can be a versatile addition to virtually any meal, whether you’re preparing a lean chicken salad, grilled chicken breast with vegetables, or a chicken stir-fry.
How to Cook Chicken Breast for Maximum Health Benefits
The method by which you prepare your chicken breast matters, especially if you’re trying to optimize its nutritional value. Here are a few healthy cooking techniques:
- Grilling: Grilling chicken breast helps retain most of its nutrients while allowing any excess fat to drip away.
- Baking: Baking is another great method for preserving the protein and nutrients in the chicken, especially when baked with minimal oil or seasoning.
- Poaching: Poaching chicken breast in water or broth results in a tender, moist texture while retaining its low-fat profile.
- Sautéing: If you’re in a time crunch, sautéing chicken breast in a small amount of olive oil or coconut oil can still be a healthy option.
Avoid frying chicken breast in large amounts of oil or butter, as this can add unnecessary fat and calories to your meal.
Variations of Chicken Breast to Enhance Flavor
Eating the same thing every day can get monotonous, but there are numerous ways to add flavor and variety to your chicken breast without compromising its health benefits.
- Herbs and Spices: Add herbs like rosemary, thyme, or oregano, and spices such as paprika, garlic powder, or cumin for a burst of flavor.
- Marinades: Marinating chicken breast in lemon juice, olive oil, garlic, and herbs can make it more flavorful and tender.
- Grilled Vegetables: Pairing chicken with vegetables like broccoli, bell peppers, or zucchini adds fiber and micronutrients to your meal.
By experimenting with different cooking methods and flavors, you can enjoy chicken breast without getting bored of the same recipe every time.

Frequently Asked Questions (FAQs)
How much protein is in 494 grams of chicken breast?
494-gram portion of skinless, boneless chicken breast provides approximately 108 grams of protein.
Is chicken breast a good source of lean protein?
Yes, chicken breast is an excellent source of lean protein, with very little fat. It’s often recommended for people looking to build muscle or manage their weight.
Can I lose weight by eating chicken breast?
Yes, chicken breast can aid in weight loss because it’s high in protein, which helps with satiety, and low in calories and fat. Pairing chicken breast with a healthy diet and exercise plan can help promote weight loss.
How should I cook chicken breast to maintain its nutritional value?
Grilling, baking, poaching, and sautéing are all great methods for cooking chicken breast while preserving its nutritional benefits. Avoid deep frying or using excessive amounts of oil.
How many calories are in 494 grams of chicken breast?
494-gram serving of cooked, skinless chicken breast contains approximately 825 calories, with the majority coming from protein.
Conclusion
Chicken breast is undoubtedly a powerhouse of nutrition, especially when it comes to providing high-quality protein for muscle repair, weight management, and overall health. A 494-gram serving offers a significant protein boost, along with essential vitamins and minerals. Whether you’re training for a fitness goal, looking to maintain a healthy weight, or just need a nutritious, lean source of protein, chicken breast is a versatile and beneficial food choice that can be easily incorporated into a variety of meals.
Grilling chicken breast can be a bit tricky, and one of the most common questions is: how long to grill chicken breast The answer depends on several factors, including the thickness of the breast, the heat of the grill, and the desired level of doneness.
Understanding the Basics of Grilling Chicken Breast
Before we dive into the specifics, it’s essential to understand the basics of grilling chicken breast. The key is to cook the chicken to a safe internal temperature while maintaining its juiciness and flavor. The recommended internal temperature for cooked chicken is 165°F (74°C).

Factors Affecting Grilling Time
Several factors can affect the grilling time of chicken breast, including:
- Thickness of the breast: Thicker breasts take longer to cook.
- Heat of the grill: Higher heat cooks the chicken faster, but can also lead to burning.
- Desired level of doneness: Some people prefer their chicken breast more well-done than others.
Tips for Grilling Chicken Breast to Perfection
To achieve perfectly grilled chicken breast, follow these tips:
- Preheat your grill to medium-high heat (around 375°F or 190°C).
- Season the chicken breast with your favorite spices and marinades.
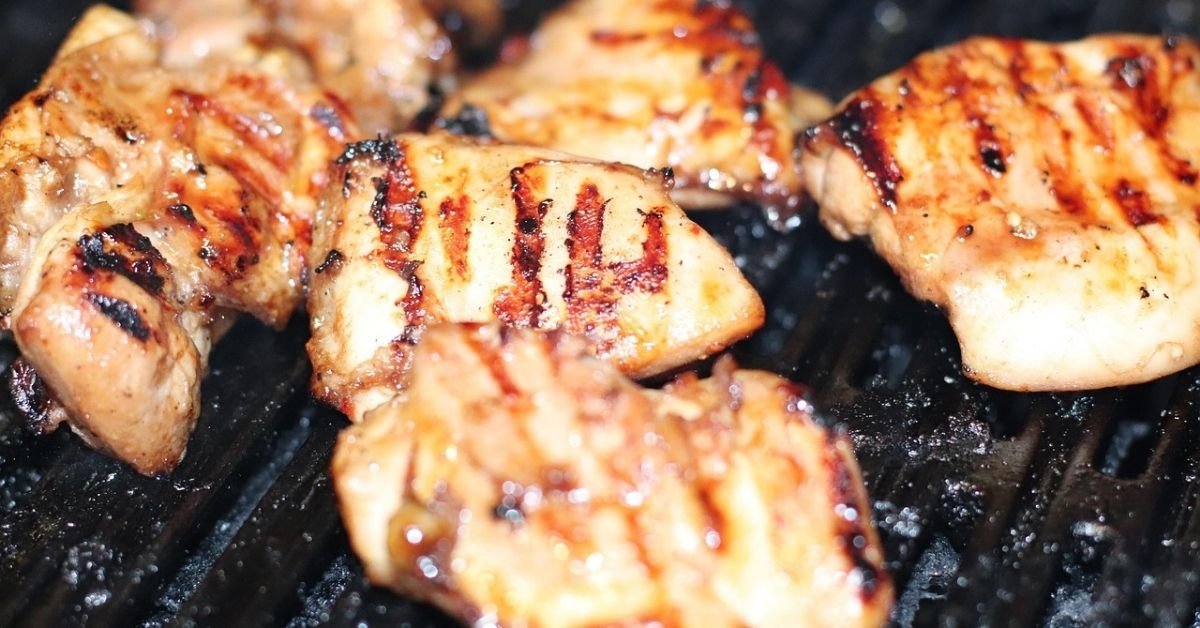
- Grill the chicken breast for 5-7 minutes per side, or until it reaches the recommended internal temperature.
- Let the chicken rest for a few minutes before slicing and serving.
Real-Life Grilling Experiences
“I was skeptical about grilling chicken breast, but after following a few simple tips, I achieved perfectly cooked chicken every time. The key is to not overcook it!” This kind of feedback is common among grill enthusiasts, highlighting the importance of technique and attention to detail.
FAQs
Q: How long should I grill chicken breast at 400°F (200°C)?
A: Grilling chicken breast at 400°F (200°C) can take around 5-6 minutes per side, depending on the thickness of the breast.
Q: Can I grill frozen chicken breast?
A: It’s not recommended to grill frozen chicken breast, as it can lead to uneven cooking and food safety issues. Thaw the chicken breast before grilling.
Q: How can I prevent chicken breast from drying out on the grill?
A: To prevent chicken breast from drying out, make sure to not overcook it, and use a meat thermometer to check the internal temperature.
Q: Can I grill chicken breast with the bone in?
A: Yes, you can grill chicken breast with the bone in, but it may take longer to cook. Make sure to adjust the grilling time accordingly.
Conclusion
Grilling chicken breast can be a delicious and healthy way to prepare a meal, but it requires some finesse. By understanding the factors that affect grilling time and following a few simple tips, you can achieve perfectly cooked chicken breast every time.

Kittens have different nutritional needs than adult cats, requiring a diet rich in protein, fat, and other essential nutrients to support their rapid growth and development. Kitten food is formulated to meet these unique needs, but not all kitten food is created equal.
What to Look for in Kitten Food
When selecting a kitten food, look for a nutrient-rich formula that includes high-quality protein sources, such as chicken or salmon. Avoid fillers and by-products, and opt for a food that’s rich in omega-3 fatty acids to support skin and coat health.
Types of Kitten Food
There are several types of kitten food available, including dry food, wet food, and a combination of both. Dry food is convenient and helps maintain dental health, while wet food provides higher moisture content and can be more palatable.

Dry Kitten Food vs. Wet Kitten Food
Both dry and wet kitten food have their pros and cons. Dry food is often more affordable and has a longer shelf life, but may not be as appealing to kittens. Wet food, on the other hand, is more nutrient-dense and can be more appealing, but may be more expensive and have a shorter shelf life.
“I was overwhelmed by the number of kitten food options available, but after consulting with my vet, I found a great food that my kitten loves and thrives on.” – A satisfied kitten owner
Frequently Asked Questions
Q: How often should I feed my kitten?
A: Kittens typically require 3-4 meals per day until they’re about six months old. After that, you can gradually switch to twice a day.
Q: Can I switch my kitten’s food too quickly?
A: Yes, switching your kitten’s food too quickly can cause digestive upset. Gradually introduce new food over a period of 7-10 days to prevent this.
Q: What are the signs of a food allergy in kittens?
A: Common signs of a food allergy in kittens include itching, scratching, and digestive issues. If you suspect a food allergy, consult with your vet to determine the best course of action.
Q: How do I know if my kitten is getting the right nutrients?
A: Consult with your vet to determine the best kitten food for your kitten’s specific needs. They can help you choose a food that’s rich in essential nutrients and monitor your kitten’s health.
Conclusion
kitten food, it’s clear that choosing the right food for your kitten is a crucial decision. By understanding your kitten’s nutritional needs and consulting with your vet, you can make an informed decision and give your kitten the best possible start in life.

Olive oil for cooking, the type of oil you choose can greatly impact the flavor and nutritional value of your dishes. Extra virgin olive oil (EVOO) is often considered the gold standard, but it’s not always the best choice for high-heat cooking.
EVOO has a low smoke point, which means it can become damaged and lose its flavor when heated to high temperatures. For cooking methods like frying or sautéing, a more neutral-tasting olive oil with a higher smoke point may be a better option.
Choosing the Right Olive Oil for Cooking
So, how do you choose the right olive oil for cooking? Here are a few factors to consider:
- Smoke point: Look for olive oils with a higher smoke point, such as refined or light olive oil, for high-heat cooking.
- Flavor profile: Choose an olive oil that complements the flavors in your dish. For example, a mild olive oil is perfect for delicate fish, while a robust EVOO pairs well with hearty vegetables.
- Quality: Opt for high-quality olive oil from reputable producers to ensure the best flavor and nutritional benefits.
“I love using olive oil for cooking because it adds a richness and depth to my dishes that other oils just can’t match,” said a home cook.

The Benefits of Using Olive Oil for Cooking
Using olive oil for cooking offers numerous benefits, including:
- Health benefits: Olive oil is rich in antioxidants and healthy fats, making it a great choice for heart health.
- Flavor: Olive oil adds a distinct, rich flavor to dishes that can elevate even the simplest recipes.
- Versatility: Olive oil can be used for a variety of cooking methods, from sautéing to roasting.
FAQs
Q: Is olive oil good for cooking?
A: Yes, olive oil for cooking is a great choice, but it’s essential to choose the right type of oil for your cooking method.
Q: What is the best olive oil for cooking?
A: The best olive oil for cooking depends on the cooking method and desired flavor profile. For high-heat cooking, a refined or light olive oil is a good option.
Q: Can I use extra virgin olive oil for cooking?
A: While EVOO is a great choice for low-heat cooking or as a finishing oil, it may not be the best option for high-heat cooking due to its low smoke point.
Q: How do I store olive oil to maintain its quality?
A: Store olive oil in a cool, dark place to preserve its flavor and nutritional benefits.
Conclusion
Olive oil for cooking, it’s clear that this versatile oil can elevate a wide range of dishes. Whether you’re a seasoned chef or a casual cook, incorporating high-quality olive oil into your cooking routine can have a significant impact on the flavor and nutritional value of your meals.
-

 TECH9 months ago
Apple iPhone 17: Official 2025 Release Date Revealed
-

 BLOG9 months ago
Understanding the ∴ Symbol in Math
-

 ENTERTAINMENT7 months ago
What Is SUV? A Family-Friendly Vehicle Explained
-

 EDUCATION4 weeks ago
Horizontal Translation: How to Shift Graphs
-

 EDUCATION9 months ago
Using the Quadratic Formula
-

 ENTERTAINMENT9 months ago
Going Live: How to Stream on TikTok from Your PC
-

 TECH9 months ago
Prodigy: Early Internet Pioneer
-

 EDUCATION9 months ago
The Meaning of an Open Circle in Math Explained